Nav
Classrooms & Conference Rooms

LOW-1050

LOW-1215

LOW-3000 and LOW 3025

LOW-1135, LOW-3015 and LOW-3040

LOW-3135

LOW-3057

LOW-4050

Computer Labs

Computers and Laptops

Computer Audio – Selecting Speakers

Driver Updates

Laptop Stands

Lenovo X1 Yoga – Battery Reset

Lenovo X1 Yoga – Camera Shutter

Lenovo X1 Yoga – Docking Station

Lenovo X1 Yoga – Increase Battery Life

Lenovo X1 Yoga – Monitors Not Working

New Computer Setup

Power Settings on Laptop

RDP vs. VPN

Remote Desktop

RIT Wireless Network

Running Hardware Diagnostics

Windows Updates from Microsoft

Email and Calendar

Adding a shared Exchange mailbox

Automatic Replies (Vacation Message)

Creating A Meeting Invite

Email Signatures

Filter all Meeting Requests and Updates to another folder

Forwarding Email Headers

Junk Email & Spam

Mailing Lists

Saunders Activities Calendar

Sending email from another account

Setting up the Outlook app on Mobile Devices

Sharing and Opening a Shared Calendar

Equipment Reservations

Executive MBA Support

EMBA Slack

File Services

Google Drive File Stream

OneDrive

Help Articles

Capstone Servers

Events Management System

Getting Software

How to screen share an iOS device in a Desktop Zoom meeting

Improve the speed of your iPhone/iPad

LanSchool Teacher Console Issues

PDF Printing Is Very Slow

Reset Outlook Search Index

Saunders Q&A Wednesdays

Schedule a Zoom Meeting on Behalf of Another

Inside.SCB & Sedona

Policies and Forms

PaF – Access to Offices

PaF – Data Store Policy

Printing and Scanning

Saunders Student Printing

Service Requests

Software and Databases
Adobe Software

How to Fix Adobe Serial Number Problem

Setting Up Certificate-Based Signatures in Adobe Acrobat

AI Tools

ATLAS.ti

Avaya Cloud Office Phone System

Handset Instructions

Azure Dev Tools for Teaching

Bizagi Modeler

Bloomberg

CrashPlan

Dedoose

EMS Desktop Client

FASB

Google Apps at RIT

Google Jamboard

Home Use

HubSpot

Ivanti

Force a Security Scan

Force an Inventory Scan

Portal Manager

KeePass

Leximancer

Microsoft Office

Microsoft OneNote

Microsoft Whiteboard

Overleaf

Password Managers

Qualtrics Surveys

RIT VPN Client

SAP

Slack

Spirion

SPSS

Stata

Tableau

Web Browsers

Browser Extensions

Browser Sign-In

Changing the Default Search Engine

Clearing the Browser Cache and Cookies

Disable YouTube Auto Play

Edge URL Copy and Paste

Recommended Browsers

Windows 10

Weathers & News Taskbar

Windows 10 – Default Applications

Windows 11

Windows 11 – Cannot Delete Public Desktop Icons

Windows 11 – Default Applications

Windows 11 – Start Menu & Taskbar

Windows 11 – Time Zone is Wrong

WRDS

Zoom

Zoom – Automatic Transcriptions

Zoom – Closed Captioning

Zoom – Remote Support

Zoom – Using Google Drive to Store Recordings

Zoom – Share Recordings

How-to articles

Printing and Scanning

Table of Contents

Adding Printers

For personal devices, see Web Printing below.

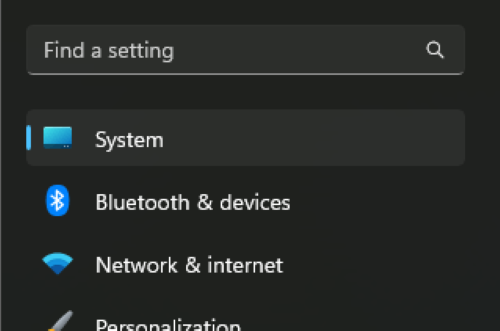
Locate Settings in your Start Menu.

Click on Bluetooth & devices on the left:

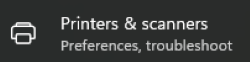
Click on Printers & scanners

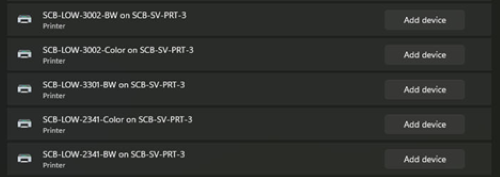
If you do not see the printer you want to use, click on Add device

Scroll down through the list to find the printer you want to add and click Add device. All Saunders printers start with SCB.

Legacy Printer Names/Locations

Older systems may use these printer names below. Newer systems following a naming convention that provides the room location.

Printer NameDescriptionDeviceLocation
SCB-LOW-A300-BWStudent Services CopierXerox VersaLink B405LOW-A300
SCB-LOW-A309-BW
SCB-LOW-A309-Color
A Level CopierXerox AltaLink C8255LOW-A309
SCB-LOW-2341-BW
SCB-LOW-2341-Color
2nd Floor CopierXerox AltaLink C8155LOW-2341
SCB-LOW-3002-BW
SCB-LOW-3002-Color
LOW-3002 CopierXerox VersaLink C7125LOW-3002
SCB-LOW-3301-BW
SCB-LOW-3301-Color
3rd Floor CopierXerox AltaLink C8155LOW-3301
NTID Offices
SCB-ROS-A179-BWRoss Hall Faculty PrinterXerox WorkCentre 3655XROS-A179

Secure Print

Each Xerox printer has a Secure Print option.  When printing your document, click Properties in the print dialog.

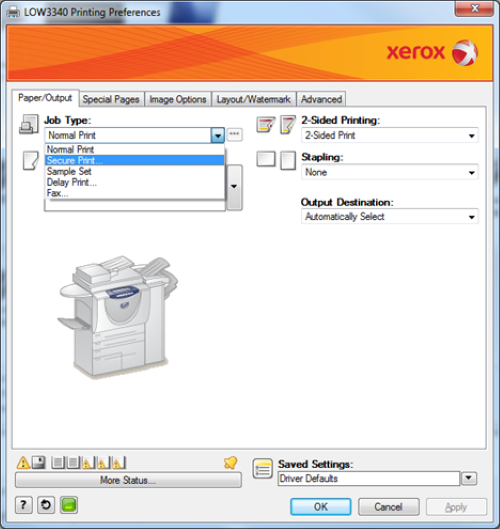
Change the Job Type from Normal Print to Secure Print.

When you print, you will be prompted for a temporary passcode.  Type in the passcode you want to use to release the job from the copier.

The passcode is used for this printout only.  Each time you print, you can set a new passcode.

To release your secure print at the machine, hit the Job Services button to the left of the touch screen.

Select the Secure Print Jobs tab and find your username. Click your username and type in your previously made passcode.

Select the job you wish to print and select Release Job.

Scan to Email

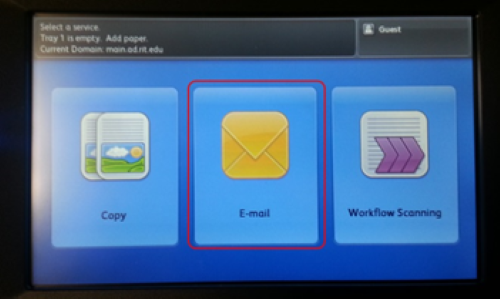
Start by selecting E-mail from the touch screen.

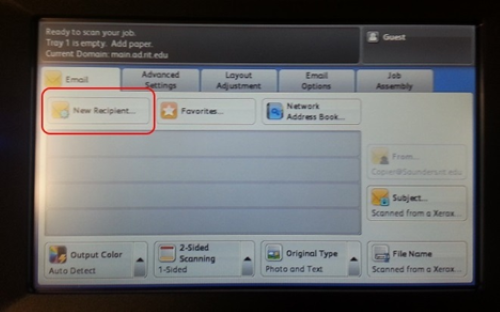
Select New Recipient… to type in the address.  You may also select Network Address Book… to search the RIT Global Address List.

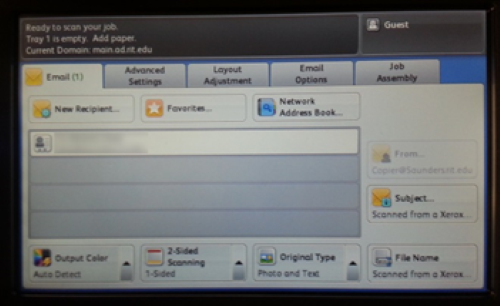
Once you have the address in, set the settings you need and press the large, green Start button to the right of the touch screen.

Web Printing

If you would like to print via the web without having to install the printer, start by saving your document or file as a PDF as web printing only works with PDF documents.

Go to https://scb-sv-prt-3.main.ad.rit.edu:9192/ using your web browser and sign in using your RIT username and password.

Once signed in, select Web Print long the left hand side.  The select Submit a Job.

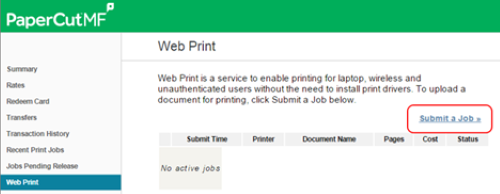
Select a printer and then click on Print Options and Account Selection.

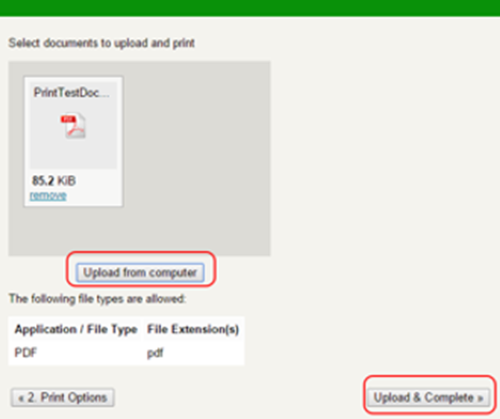
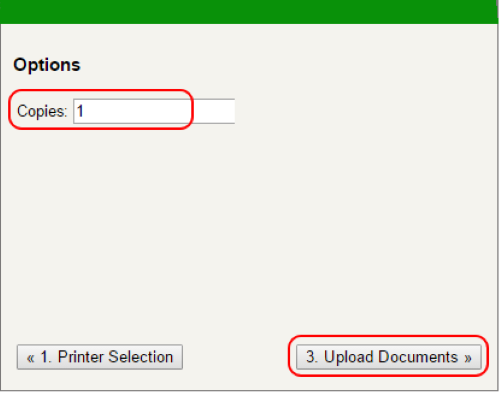
Designate how many copies you need printed and then click on Upload Documents.

Select the PDF you want to print and then click on Upload & Complete.  Your document will print.