Overview
CrashPlan (formally known as Code42) is a software package that RIT uses to automatically backup faculty and staff computers.
What gets backed up?
CrashPlan has been configured to backup only data stored within the user’s profile (this includes the desktop and documents folders). This means C:\users\<username>. Other folders outside of this location will not be backed up.
There are a few exceptions. Executables, ISO images, MP3s, Virtual Disks and temporary files will be excluded from automated backup and not backed up.
Initial Set Up & Sign In
If CrashPlan is not installed on your computer, you can install it via Portal Manager.
CrashPlan does require you to sign into the service once. After that, it will automatically start backing up your laptop. Here’s how:
Start by launching CrashPlan located in your start menu.
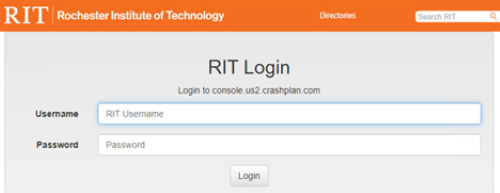
Once launched, enter your RIT Username followed by @rit.edu for the Username and Click Continue.
If you are not redirected to a standard RIT login page, please STOP. Do NOT enter your RIT Password. This means your account is not registered with CrashPlan and you must contact Saunders Technical Support to register.
You will be redirected to your browser to sign into your RIT account from a standard RIT login page.
Once logged in, you will be informed that you can close the browser.
Once you return to the CrashPlan app, you may see it still waiting for the browser to open for you to login. There may be a two to three minute delay.
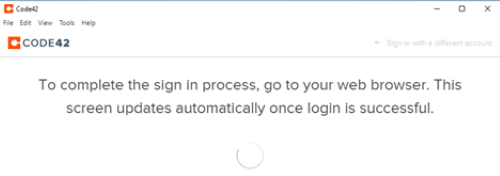
Once the app is signed in, you should see the backup process starting. You may now close the app.
Replacing your device
If your computer ever needs to be imaged or replaced, you will want to change how you setup CrashPlan.
Sign into CrashPlan by entering your RIT Username for Username and backup.rit.edu for the Server Address. Click Continue. When prompted, use your RIT password to complete the sign in.
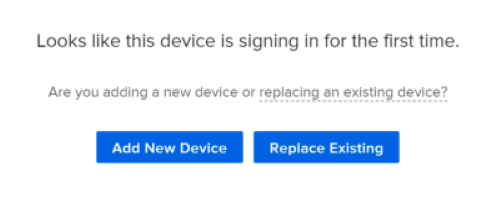
Once signed in, be sure to select Replace Existing when presented with the option.
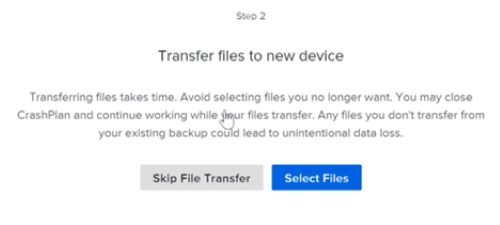
Next, select Start to begin the process of restoring your files.

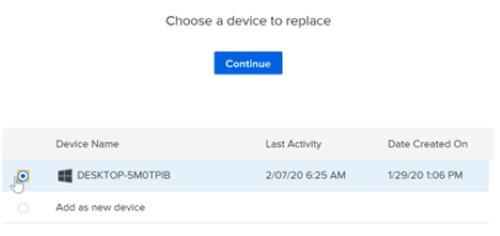
Look for your computer, select it, and click Continue. In most cases, you will only see one computer listed.
To restore your files, click on Select Files.
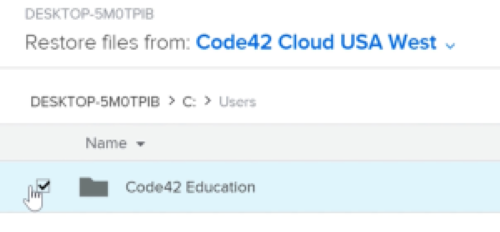
To ensure you restore all of the files, click on Users in the upper left of the window.

This should now list your username. Click the checkbox next to your username and then click on Restore Files.
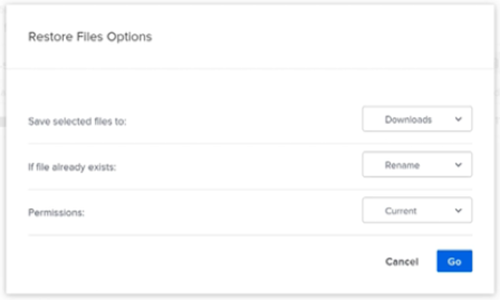
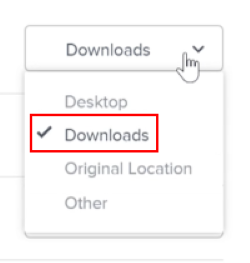
You will be given three options to restore your files. Be sure to change the Save selected files to Downloads. Then click Go.
We recommend using Downloads instead of Original Location as system files and settings files can mess up your new computer’s profile. Only use Original Location for data files.
The restore will now start running. Click Continue. This may take some time to complete.
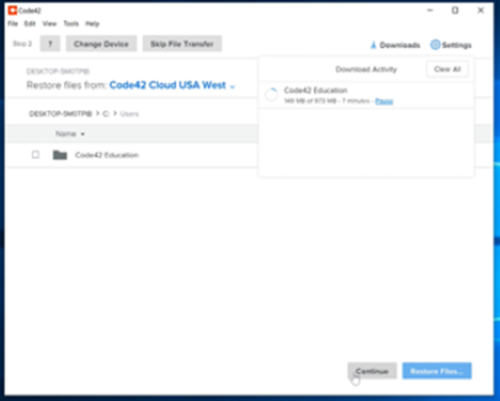
Once you have transferred all of the files you wish to restore, click Next. Otherwise, click Transfer More Files to restore those that have not been restored yet.

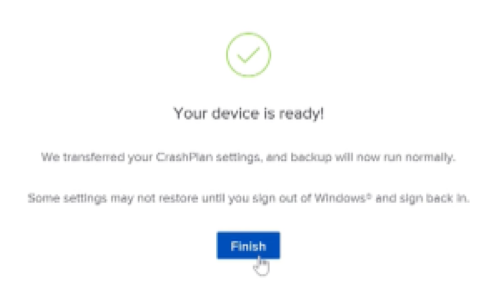
Click on Continue to transfer your settings so CrashPlan starts backing up the new computer.

Click Finish.
Now go to your Downloads directory and move those files you wish to keep to there intended location.
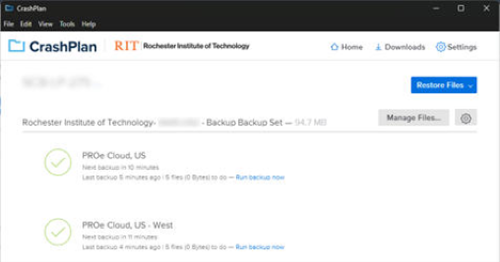
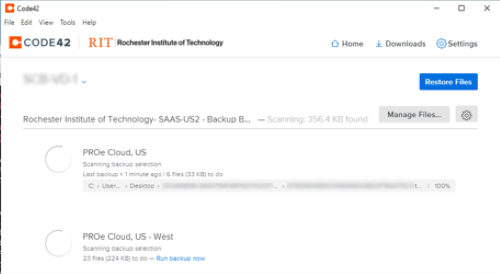
Verify your backup is working
If you want to verify your backup is working, open the CrashPlan app located in your Start menu.
Once opened, you should see to green checkmarks next to the two cloud backup environments. If those green checks are there, you are all set.