
Overview
KeePass (http://www.keepass.info/) is a private password manager that allows users to keep track of all of their passwords in an encrypted database
How To Use
Creating a new password database
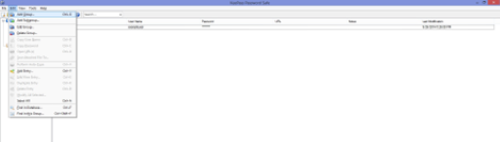
In the File menu, click on New
The program will then prompt for a master password. Create a password and click on Ok. The program will then ask you to confirm the master password, enter it again and click Ok.
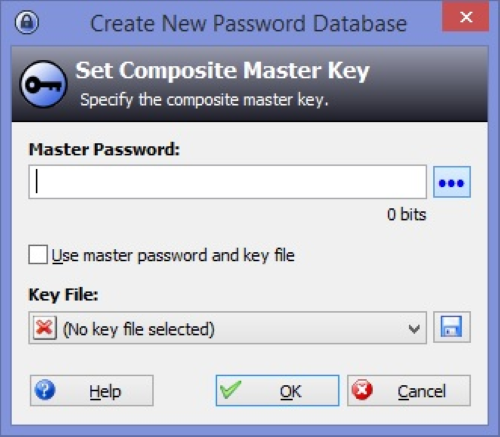
In the File menu, click on Save As. You can give the database a name, or use the default value (Database.kdb).
Adding a password to a database
If the password database is not open, open it by going to the File menu and clicking on Open.
Click on the Add Entry icon.
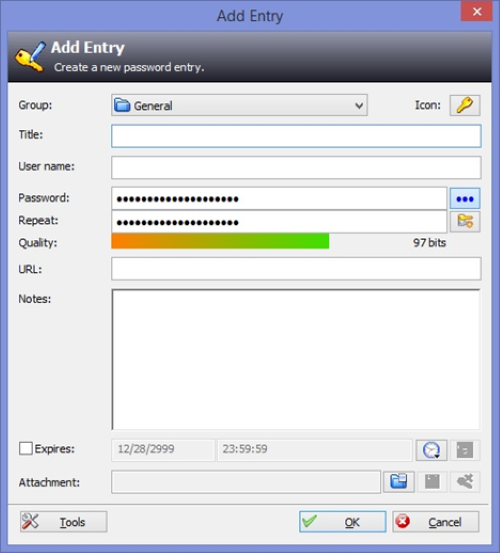
Give the new entry a Group(eg. eMail), Title(eg. Outlook) and your Username.
By default, a random password is generated for you. If you want to replace the generated password with your own, select the generate password and type in the new password. Click Ok to save the new entry.

When the new entry has been saved, it will be visible in the group you selected.
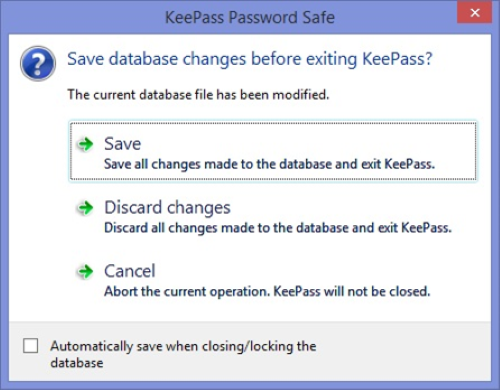
Before exiting the program, don’t forget to save the changes to the database.
Copying a password to the clipboard
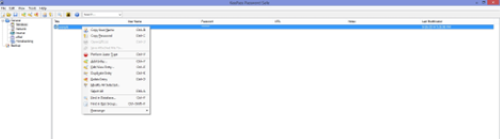
Click on the entry, and then click on the Copy Password icon.
Copying a User Name to the clipboard
Click on the entry, and then click on the Copy User Name icon.
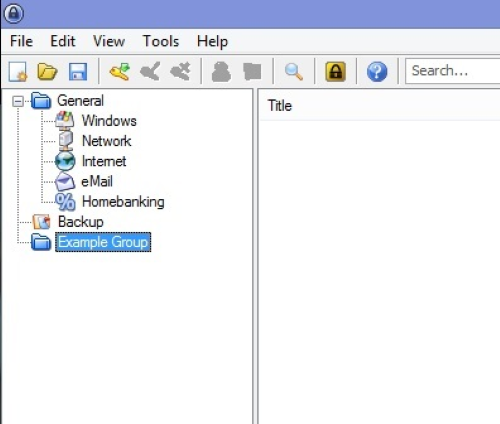
Creating a group
Click on the entry, and then click on the Copy User Name icon.
With nothing selected, in the Edit menu, click on Add Group. You can give the new group a name and customize the icon.
Once it is created, you will see a new group in the left column.
Before exiting the program, don’t forget to save the changes to the database.
Creating a Subgroup
Left click on a group. Then in the Edit menu, select Add Subgroup.
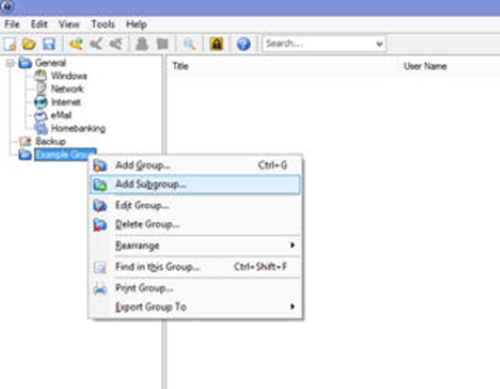
Once created, the subgroup will be visible in the left column.

Before exiting the program, don’t forget to save the changes to the database.
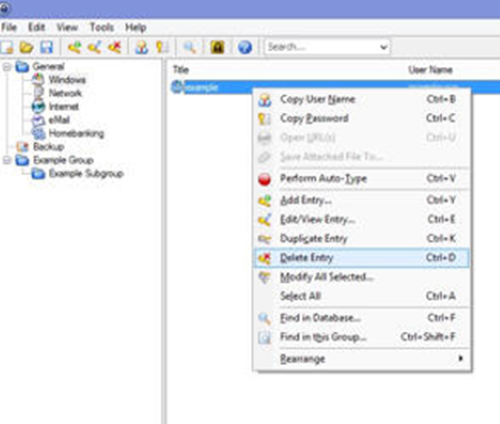
Deleting an entry
Left click on an entry.
Click on the Delete Entry icon.
Before exiting the program, don’t forget to save the changes to the database.
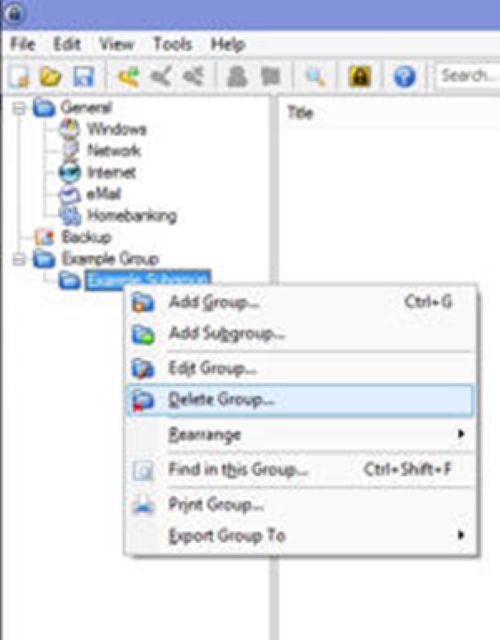
Deleting a Group or Subgroup
Right Click on the group or subgroup in the left column that you want to delete, select Delete Group.
Deleting a Group or Subgroup deletes all entries within it!
Before exiting the program, don’t forget to save the changes to the database.