
Parts List
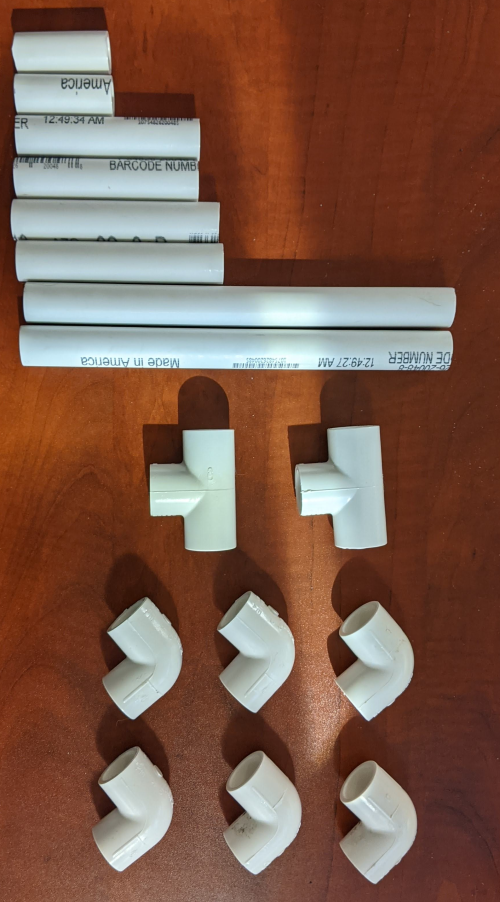
All parts are 1/2″ PVC pipe and connectors
- 2 – 2″ pipes
- 2 – 3.5″ pipes
- 2 – 4.25″ pipes
- 2 – 9″ pipes
- 2 – T connectors
- 6 – Right Angle connectors
Assembly
Step 1
Parts Needed:
- 1 – 9″ pipe
- 2 – Right Angle connectors
Instructions:
Add the right angle connectors to the ends of the 9″ pipe.
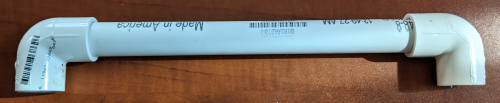
Step 2
Parts Needed:
- 2 – 2″ pipes
Instructions:
Add the 2″ pipes to the two right angle connectors
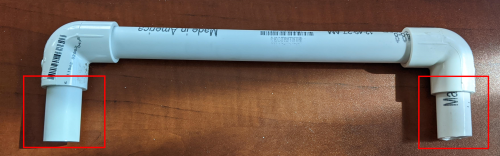
Step 3
Parts Needed:
- 2 – T connectors
Instructions:
Add the T connectors to the ends of the 2″ pipes.
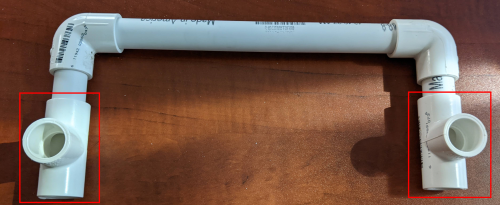
Step 4
Parts needed:
- 2 – 3.5″ pipes
Instructions:
Add the 3.5″ pipes to the ends of the T connectors

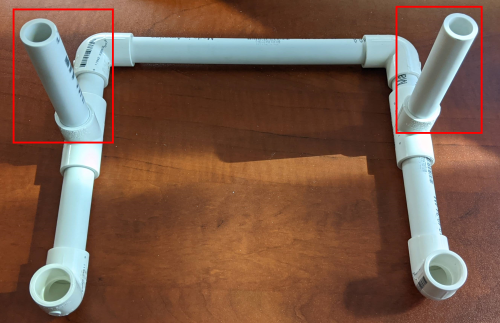
Step 5
Parts Needed:
- 2 – Right Angle connectors
Instructions:
Add the Right Angle connectors to the ends of the 3.5″ pipes.
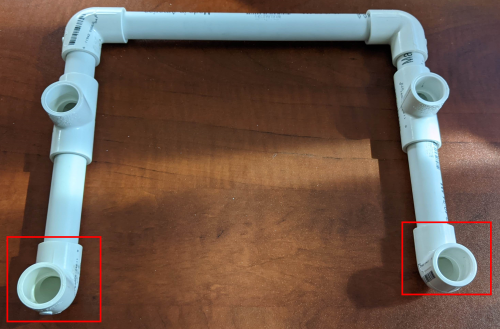
Step 6
Parts needed:
- 2 – 4.25″ pipes
Instructions:
Add the 4.25″ pipes to the top of the T connectors in the middle.
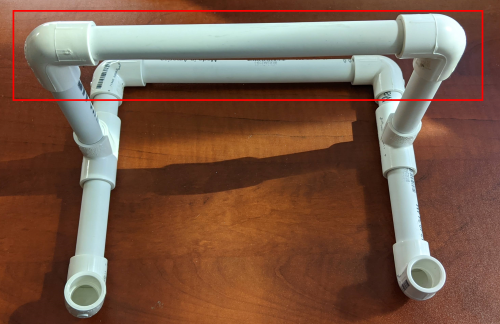
Step 7
Parts needed:
- 1 – 9″ pipe
- 2 – Right Angle connectors
Instructions:
Add the right angle connectors to the ends of the 9″ pipe. this is the second set, same as step 1.
Step 8
Instructions:
Take the piece from Step 7 and add to the top of the 4″ pipes from Step 6.
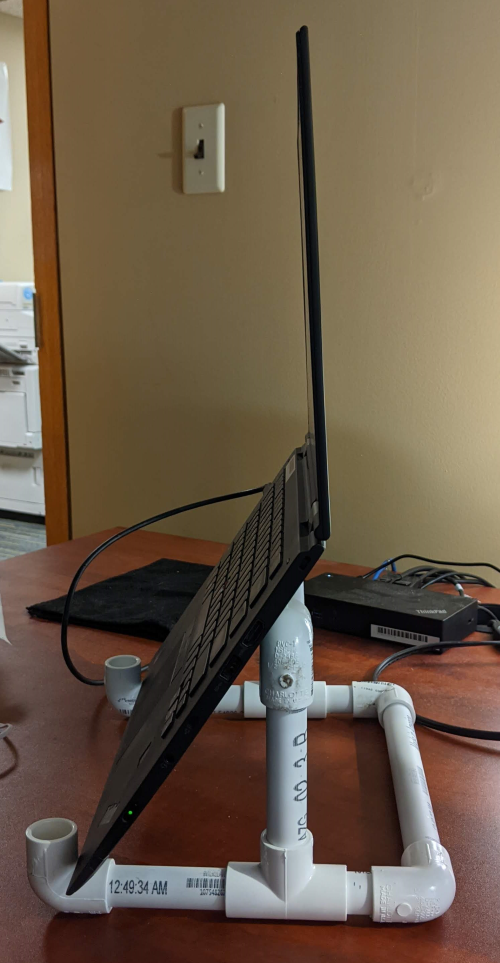
Step 9
Instructions:
Add the laptop to the stand
Credit
Thanks, to Matthew Arlauckas for creating this